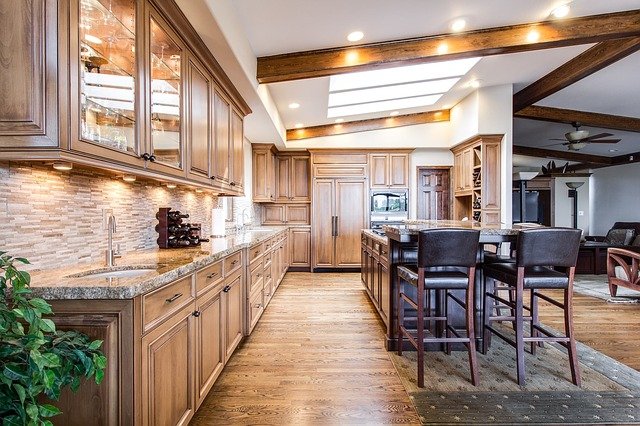
Last week, we posted Part 1 of what you need to know about refinishing cabinets. This is Part 2 where we continue outlining the steps to prepare cabinets for paint or stain.
Steps to Refinish Your Kitchen Cabinets
Step Four: Sand Surfaces and Fill Holes
Now the messy fun begins. Sand down all the surfaces and prepare them for painting. With an electric sander with fine grade sandpaper, 150 grit.
When you have finished sanding, use a vacuum cleaner to clean up all the mess you made from sanding and wipe the cabinets and doors with a damp cloth. Make sure your cabinet is clean from any dust or lint before painting, failure to do this will get between the paint or stain and cause it to peel more quickly. With a putty knife apply putty over all holes and push down firmly to fill them in. Use a different part of the putty knife to remove the excess putty around the edges to look clean and even. When the putty is dry sand out any remaining imperfections to ensure there are no marks left behind.
Step Five: Apply Stain or Primer and Paint
Staining or painting your kitchen cabinets is essential to the cabinet refinishing process. When staining your cabinet first apply a sealer on the cabinets to help the stain have a nice even finish. Next, apply a coat of stain using a foam brush or a rag. Once the first coat of stain is fully dried apply a second coat of stain if the desired stain is not dark enough to your liking. It’s better to start with a lighter stain then apply a second coat than to have to start the entire process over. When painting your cabinet first apply a primer to the cabinets. Use even strokes with a brush or roller to apply the primer. When the primer is fully dried, apply enamel-based paint to the kitchen cabinets and doors with a brush or roller and let it dry. Primer and paint each will take roughly one to two hours to dry, depending on the temperature in your home. So be patient and don’t rush the process. After the first coat of paint fully dries, repaint again letting the second coat of paint fully dry. Finished cabinets usually require two coats of paint to have that finished look.
Step Six: Put Cabinets Back Together
Final step in your cabinet refinishing project! Reattaching cabinet hardware and doors. First, install the cabinet door hardware with either old or new making sure to install properly. If your using old hardware, replace any stripped screws or worn pieces. After all the hardware is properly on, reattach the doors in the exact location you took them off using your prenumbered labelling. Return all appliances or stored items back to where they belong. Clean up any remaining mess. Enjoy the new fun look of your cabinets!
Interior & Exterior Painting & More in Amagansett, Bridgehampton, East Hampton, Hampton Bays, Montauk, North Haven, North Sea, Noyack, Shelter Island, Sag Harbor, Shinnecock Hills, Southampton, Springs, Water Mill, Westhampton & Westhampton Beach, New York
We at L.W. Winslow Painting, Inc are always here to assist in any way with your refinishing your kitchen cabinets even if the task is to big for you we can get the job done for you, give us a call today.


