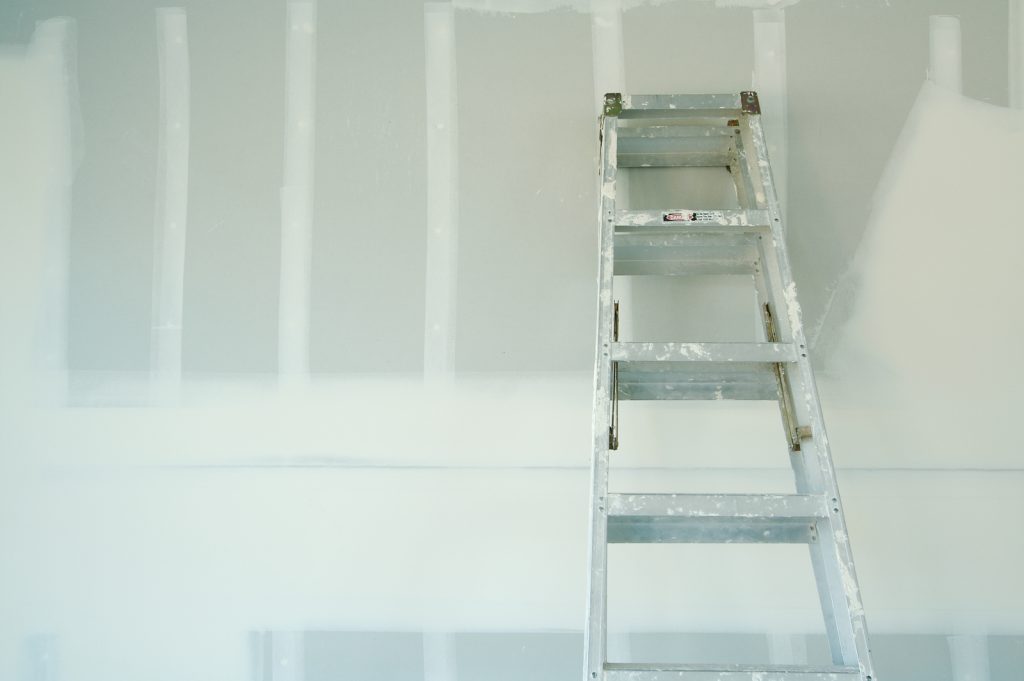
Skim coating a wall or ceiling is a technique used by painters and drywall repairmen to smooth and hide imperfections on the walls and ceiling. You might be surprised to find how common skim coating is and how often it is used. There is probably not a single room in a home without some skim coating somewhere. When it comes to remodeling a room, you will most likely need to utilize this technique, which if done properly will help make your room look flawless. L.W. Winslow Painting, Inc. will share how to perform the skim coating technique to better prepare you for your next home makeover project.
Can I Use Primer as a Sealer?
When preparing to skim coat a wall, you will want to first seal the wall with a primer. The primer will seal any paper and cracks to help smooth out the wall’s surface. The primer additionally stops mold and water stains that might have affected some of the drywall. Never skip using a primer on a wall or ceiling. The primer goes on the wall and ceiling just like regular paint. You will use a painting tray and rollers to put the primer on the wall or ceiling. When planning on taking on a remodeling project, make sure you have enough rollers and painting trays for both the primmer and the paint.
Apply Drywall Mud AKA Joint Compound
After the primer is dry, apply the skim coat which uses an all-purpose joint compound commonly referred to as mud. The all purpose joint compound normally comes in a powder that you mix with water. You will want to add water to the compound until the mixture is the consistency of mayonnaise which then will look like a thin muddy paste. You will also use a roller to spread the joint compound on the walls. If the mud starts to show signs of shrinkage which occasionally happens when the mixture is too wet, all you need to do is add another layer of compound a little thicker over the top of the watered down mud.
Trowel Drywall Mud
While the mud is still wet, use a squeegee trowel or a large putty knife with a rubber edge to smooth out the wet mud. Make sure to keep a damp rag to clean off your trowel as needed. When using the trowel, start at the top of the wall and work your way down. Continue this technique as you move side to side always starting at the top of the wall and working your way down. Remember not to use too much pressure–just enough to smooth out the walls. It helps to make the job go quicker with a wider squeegee trowel. After you have finished troweling the walls with this technique, you will then again trowel the wall but this time from the other direction. Meaning start at the top but go side-ways and then work your way down to the floor. Let the mud dry. After the wall has time to completely dry, use a soft sponge or high grit sand paper to smooth out any seams or high spots that may have been left behind.
Interior & Exterior Painting & More in Amagansett, Bridgehampton, East Hampton, Hampton Bays, Montauk, North Haven, North Sea, Noyack, Shelter Island, Sag Harbor, Shinnecock Hills, Southampton, Springs, Water Mill, Westhampton & Westhampton Beach, New York
At this point, your walls are ready to be painted or you can also place wallpaper if desired. Skim coating is an important technique when walls have a lot of abrasion, cracks, or holes in the wall or ceiling. If you want to make a room or rooms of your home look new and clean, skim coating is an important step in accomplishing just that. If you have little time or are unable to do the work yourself, L.W. Winslow Painting Inc. can skim coat and paint along with many other services to help give your home a new makeover. Call L.W. Winslow Painting Inc. today!.


